
How to create a space block
There are 2 types of spaces you can create from the space management area in the Customer Management Portal. To create a public space, follow the steps in Creating a Public Space. To create a private space, follow the steps in Creating a Private Space.
Parking spaces that are not allocated to space blocks are listed as casual/transient/ on demand parkers parking spaces if the site is open to the public.
How to create a public space block
A public space is the space that is available to book. You must have a public space configured prior to configuring a booking rate.
Process
Log into the Customer Management portal and select space management from the left side menu.
In the top bar options, select Spaces.
Select create a space.
Select public.
Give the block of spaces a name i.e., monthly parkers.
Select the site that the space block is available on.
Select the number of spaces that can be booked in the block.
Select if the space block will have reserved signage on the parking spaces. See below for more information on reserved signs.
Select the dates that space block is available.
Select the billing details for the space block. This is the billing account that the booking rate charges are settled to.
Select create space to complete the process.
Reserved signs
Specifying if a 'Reserved' sign is displayed is important if you also offer transient/on demand parking. Specifying this will subtract 'Reserved' spaces from the total spaces when calculating the number of individual parking spaces available for transient/on demand parking. A space block cannot be further subdivided, if there are some reserved signs, these need to be configured in a separate space block.
Creating a private space block
A private space block is created to designate parking spaces to different groups such as corporate accounts or other parking groups that are not public bookings or transient parkers. The parking spaces in a private space block can only be available to the users that are in the specified group attached to the space block. Management of the users in the group is run by the account owner of the space block.
Log into the Customer Management portal and select space management from the left side menu.
In the top bar options, select Spaces.
Select create a space.
Select private.
Give the block of spaces a name i.e., ABC Law firm.
Select the site(s) that the space block is available on.
Select the number of parking spaces that can be booked in the block.
Configure how long in advance a parking space can be booked.
Select if the space will have reserved signage. See below for more information on reserved signs.
Select the booking type for this space i.e., Monthly
Configure the duration of the bookings in this space i.e., minimum of 2 and maximum of 9.
Select the groups that will have access to booking this space.
Select the dates that space is available
Select the billing details for the space block. This is the billing account that the booking rate charges are settled to.
Reserved signs
Specifying if a 'Reserved' sign is displayed is important if you also offer transient/on demand parking. Specifying this will subtract 'Reserved' spaces from the total spaces when calculating the number of individual parking spaces available for transient/on demand parking. A space block cannot be further subdivided, if there are some reserved signs, these need to be configured in a separate space block.
How to create a booking rate
After the space is successfully created. A free booking rate will be automatically created for this space.If your booking is free, then you don't have to worry about editing the rate.
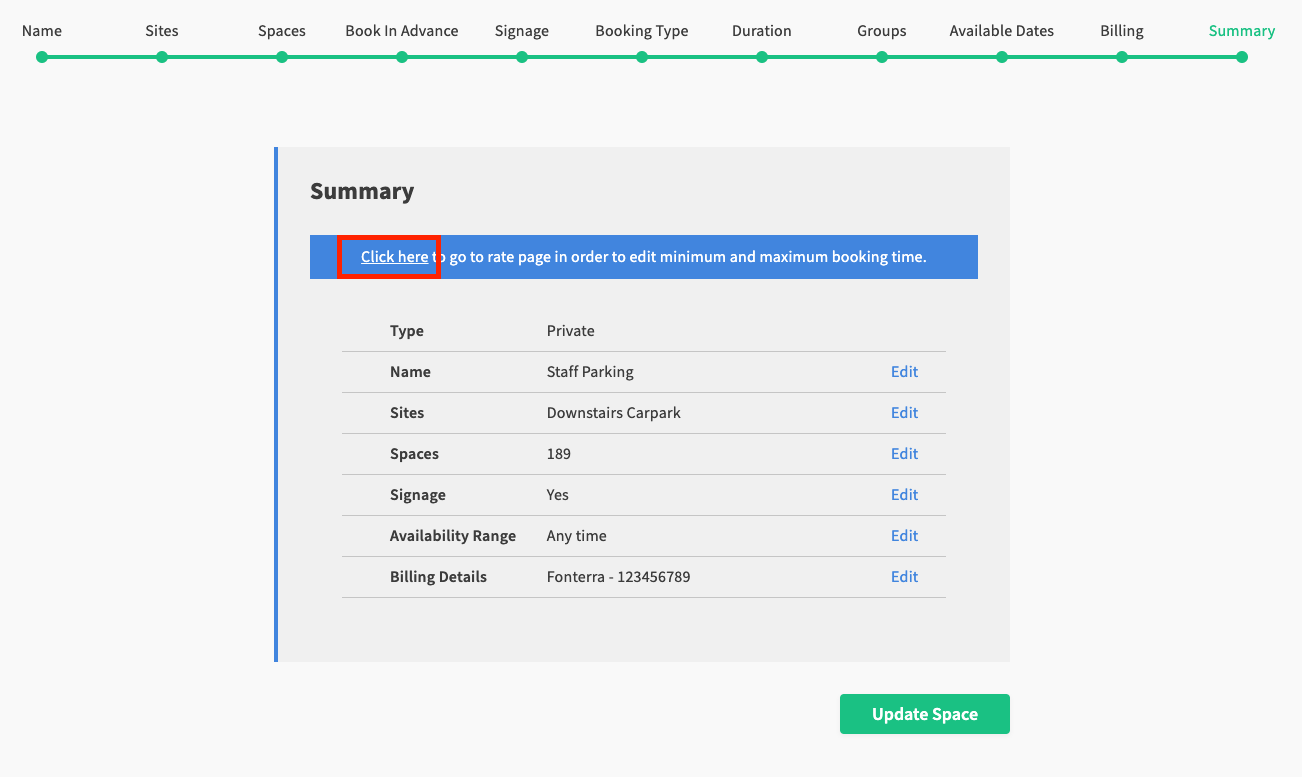
To set up paid bookings, click the 'three-dot' menu option to edit the space.

The blue banner at the top of the summary allows you to edit the booking rate. Click the 'Click here' text.
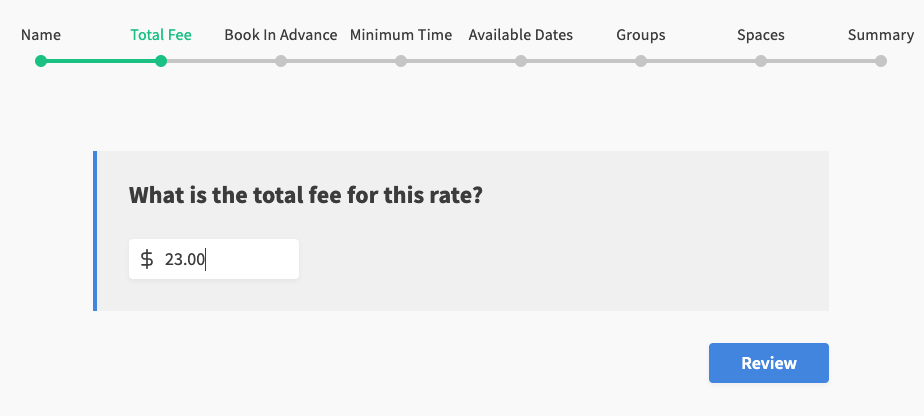
On the summary pane of the booking rate, to adjust the total fee, click the 'Edit' option in the 'Total Fee' field.

Update the total fee value.
E.g. $23.00 to specify a booking rate of $23.00 a day.
Note: The total fee is the amount of fees per unit. If your booking type is monthly, the total fee is $x per month.
Click 'Review' and click 'Update'. Your paid booking is now successfully configured.
Add a staff user to a group
The space created above is private. In order to enable users to make bookings on private spaces, users must be added to the user group that is associated to the parking space.
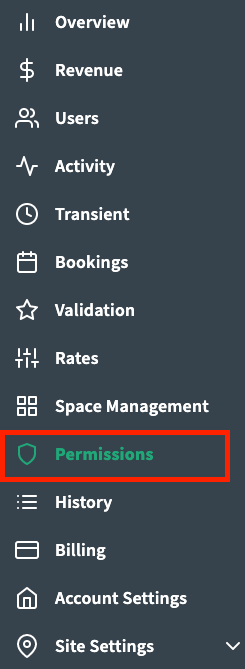
To do this, select the 'Permissions' tab from the left navigation menu.
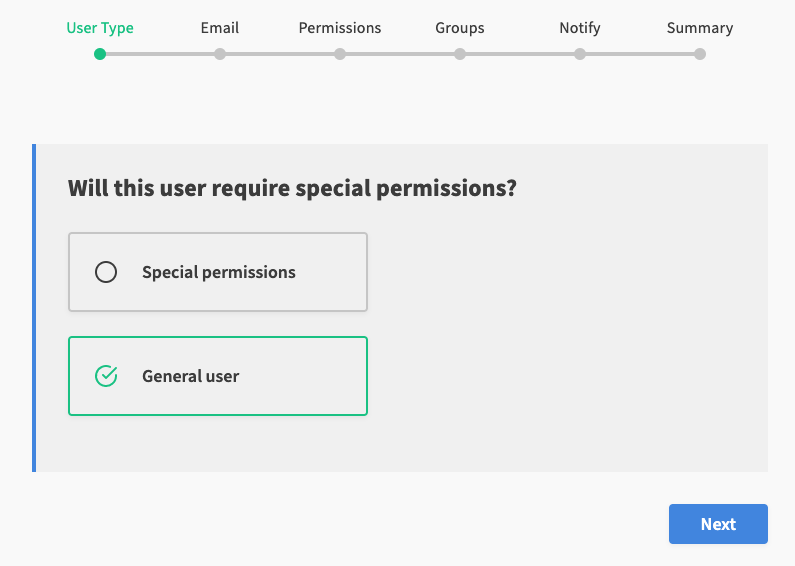
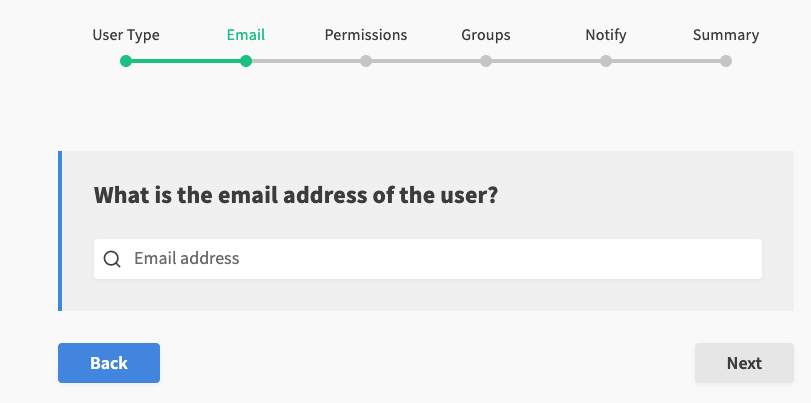
Click the 'Add User' button.

In this case, the user you add will not have special permissions. Therefore, select the 'General User' option.
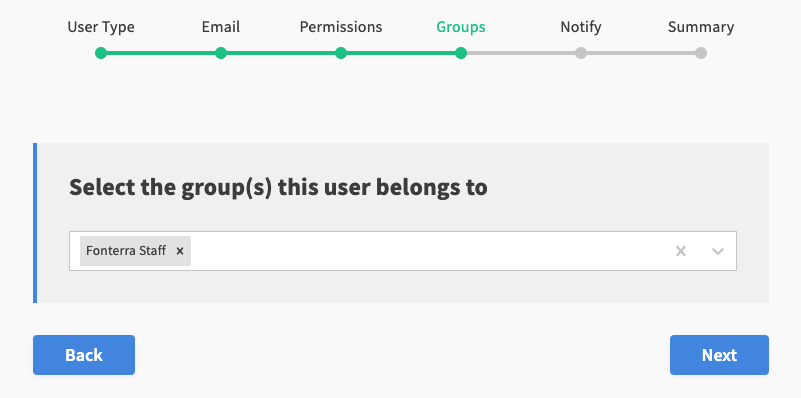
Select user groups this user belongs to.
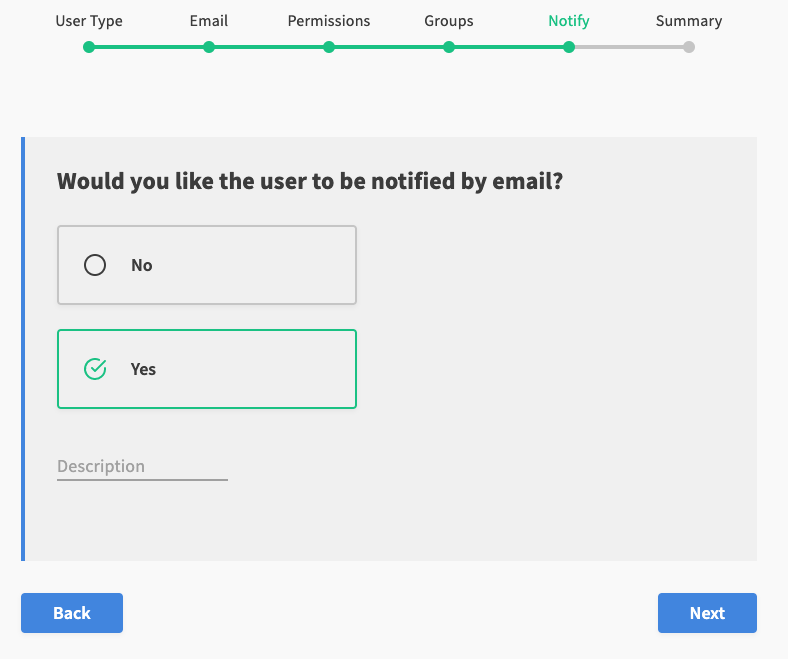
Select a notification option. Then click 'Next' to go to the summary pane and confirm adding the user.
Related articles
The content by label feature displays related articles automatically, based on labels you choose. To edit options for this feature, select the placeholder below and tap the pencil icon.